
Step 4
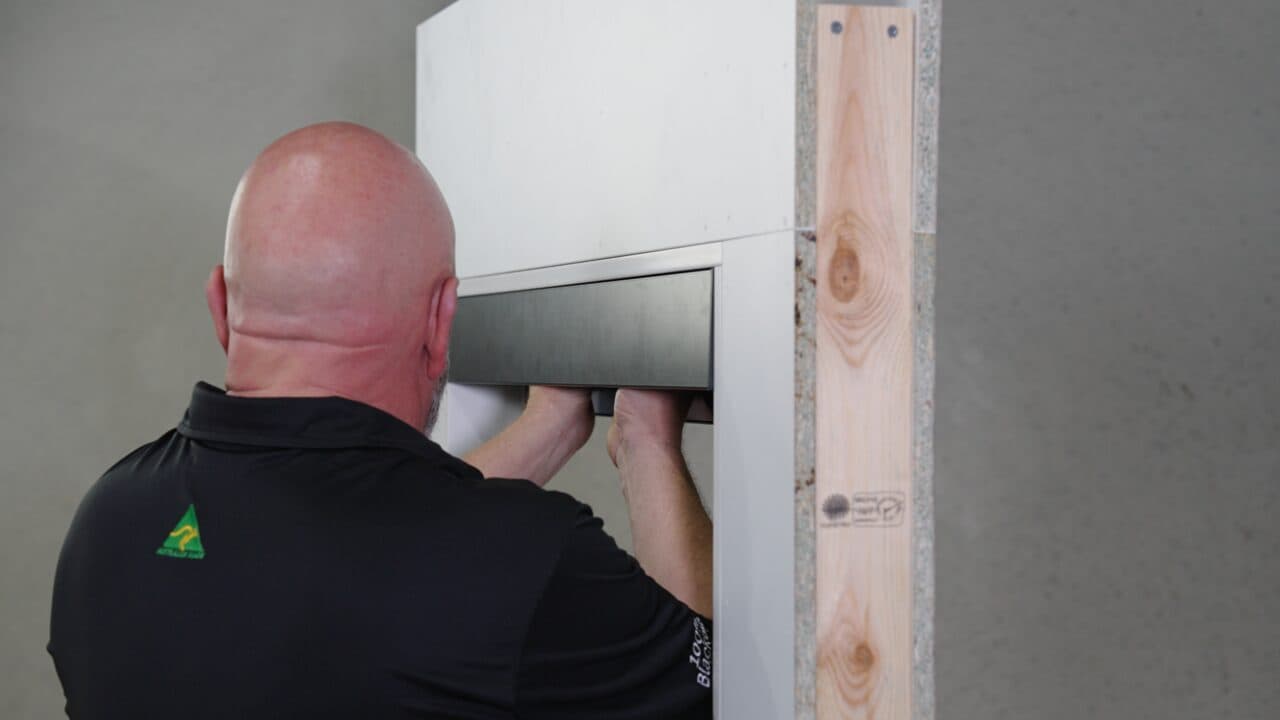
Fit the pelmet to the reveal
Video guideWatch the full walkthrough
- Lift the pelmet into the reveal — it should be a nice snug fit, flush with the caps at the front of the reveal.
- Fix through the centre holes first. These just hold it in place — don't bind it up or the pelmet will twist.
- Leave it a touch loose for now; you'll square it up with the brackets next.
Recommended troubleshootingCommon questions for this step
Why only the centre holes first?
They hold the pelmet while you fit the brackets. If you screw it up tight now it can't swivel square, and it'll twist. Snug, not locked.
My reveal is plaster/gyprock — will the screws hold?
The 30mm 6-gauge screws need something solid. On plaster only, use wall plugs and aim for a stud or timber behind.
If you hit a snag
Pelmet won't sit flush at the front.
Check the end caps are fully seated, then look for paint runs or plaster build-up along the reveal lip.