


How DIY blackout blinds work, start to finish
Five steps: check suitability, measure carefully, order via the configurator, install with the included guides, set up the motor. Ships Australia-wide. Support available throughout.
The short answer
The DIY pathway is a five-step process: confirm window suitability, measure six dimensions per window, order via the configurator, receive the kit and install it (around 30 minutes per window with two people), then pair the motor with the remote and set the limits.
DIY kits ship Australia-wide — no service-area restriction. Phone and video support is available throughout. If you get stuck at any step, call DIY support on 08 8359 5935 and we'll work through it with you.
See it close
The DIY install, end to end.
A short walkthrough of an MAB DIY kit going in — what arrives in the box, the install sequence, motor pairing and limit setting.
The five steps
From window check to working blackout system
Check window suitability
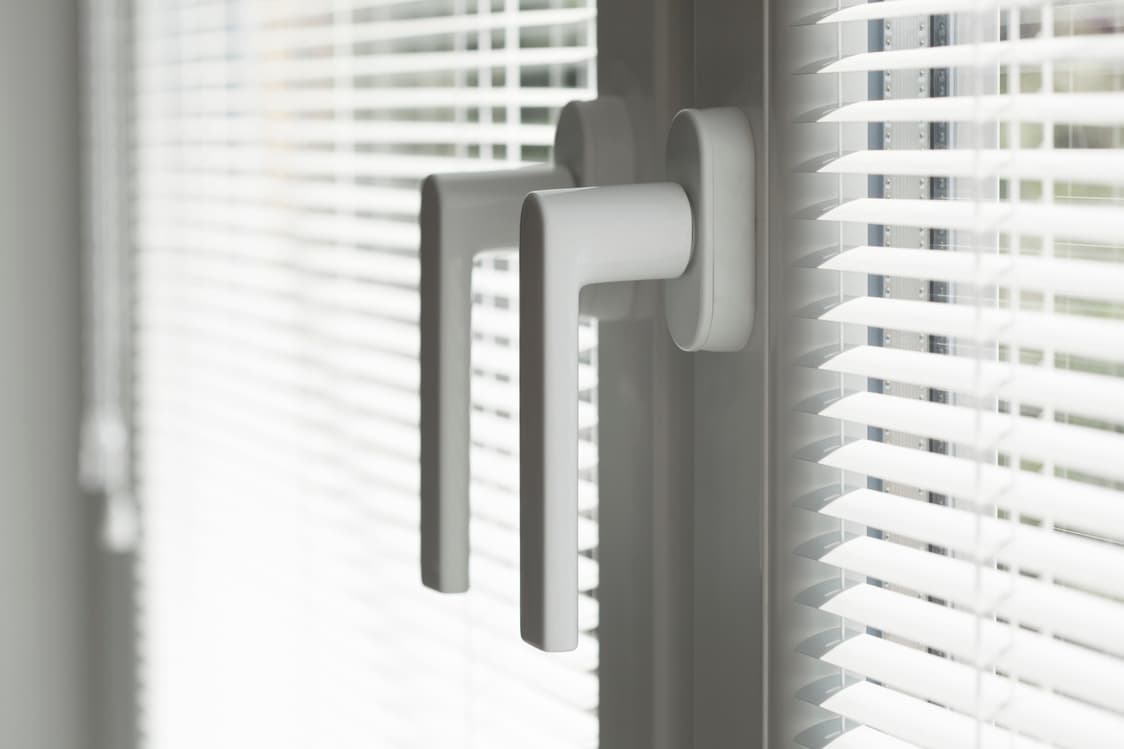
Before measuring, confirm your window will take the system. You need at least 70mm of reveal depth for a single blackout blind, or 90mm for a dual blind system. Check for obstructions inside the reveal (handles, locks, mullions, tiles), confirm the mount surface is solid, and check the window is roughly square. The Window Suitability page has the full checklist. If anything is borderline, send photos for a fit check before you measure.
Measure carefully
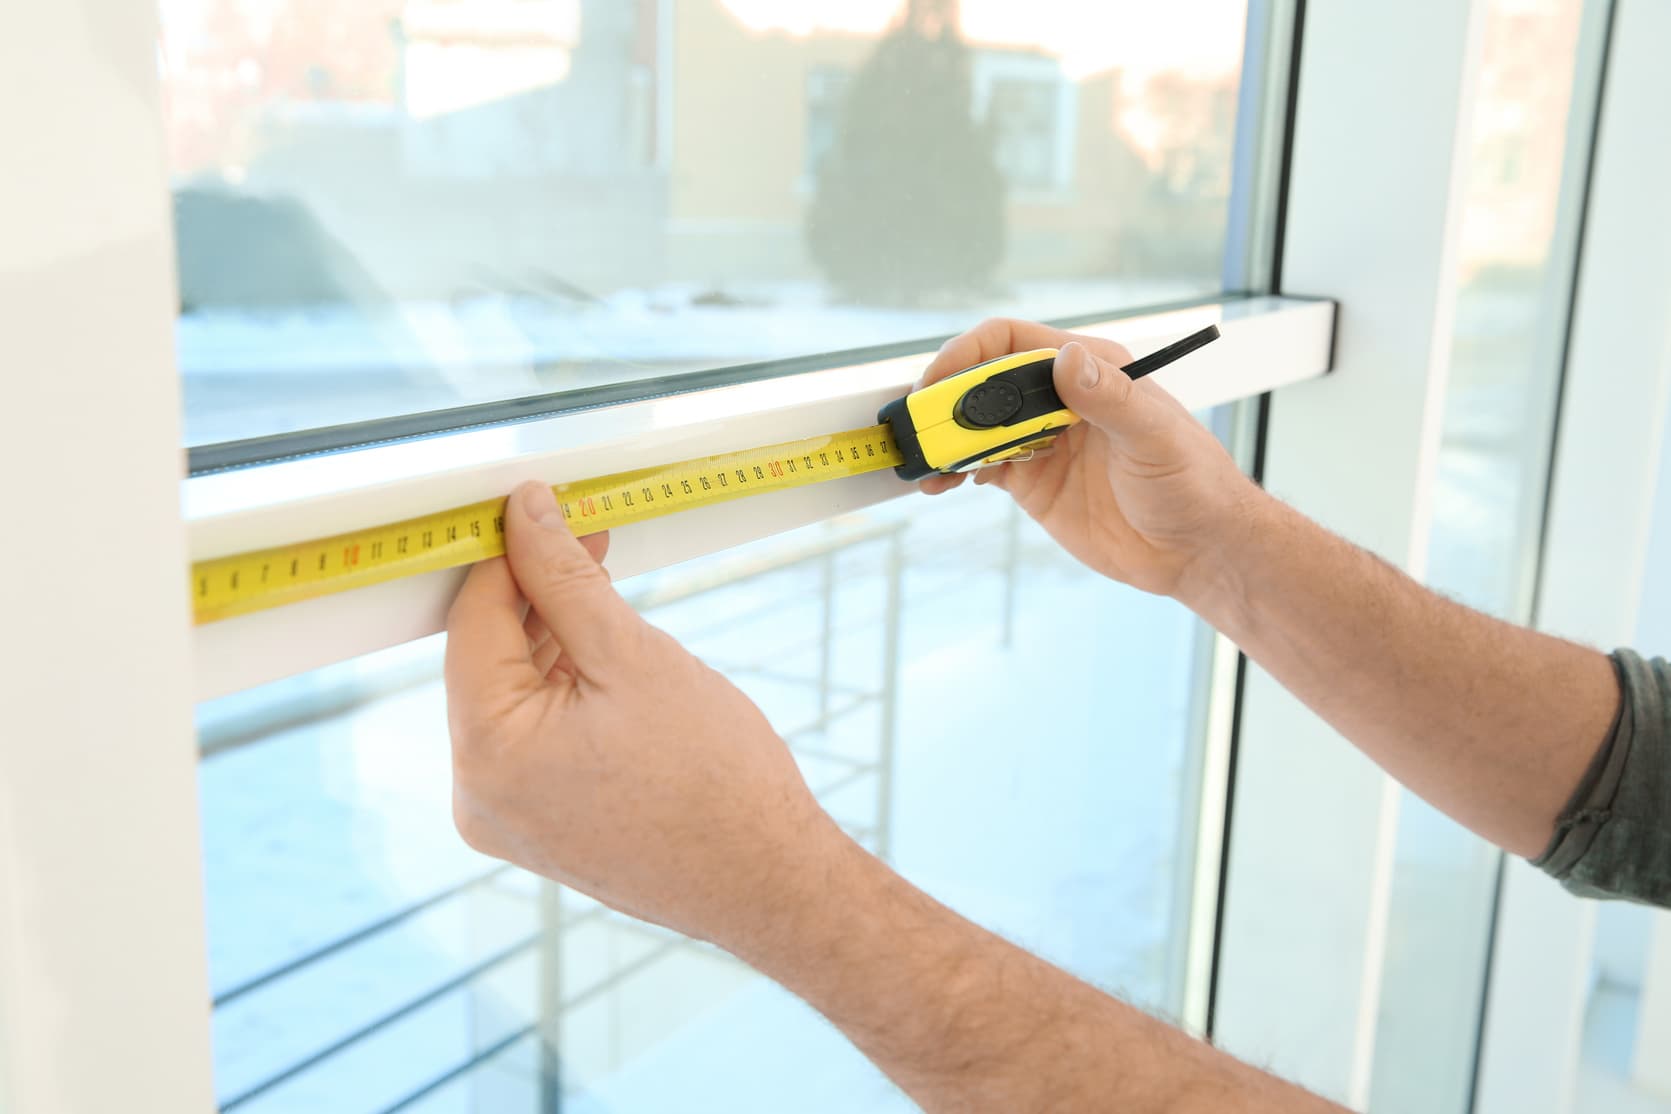
Six measurements per window — width at three points (top, middle, bottom of the reveal), height at three points (left, centre, right). Use a steel tape measure to the solid frame, not the rubber seals. If your three width readings vary by more than 10mm, the window isn't square enough for a standard fit — stop and call DIY support on 08 8359 5935 before ordering. Width range is 530-3000mm, height 300-3000mm. Use the LONGEST height when ordering. The Measuring Guide walks through every step.
Order via the configurator
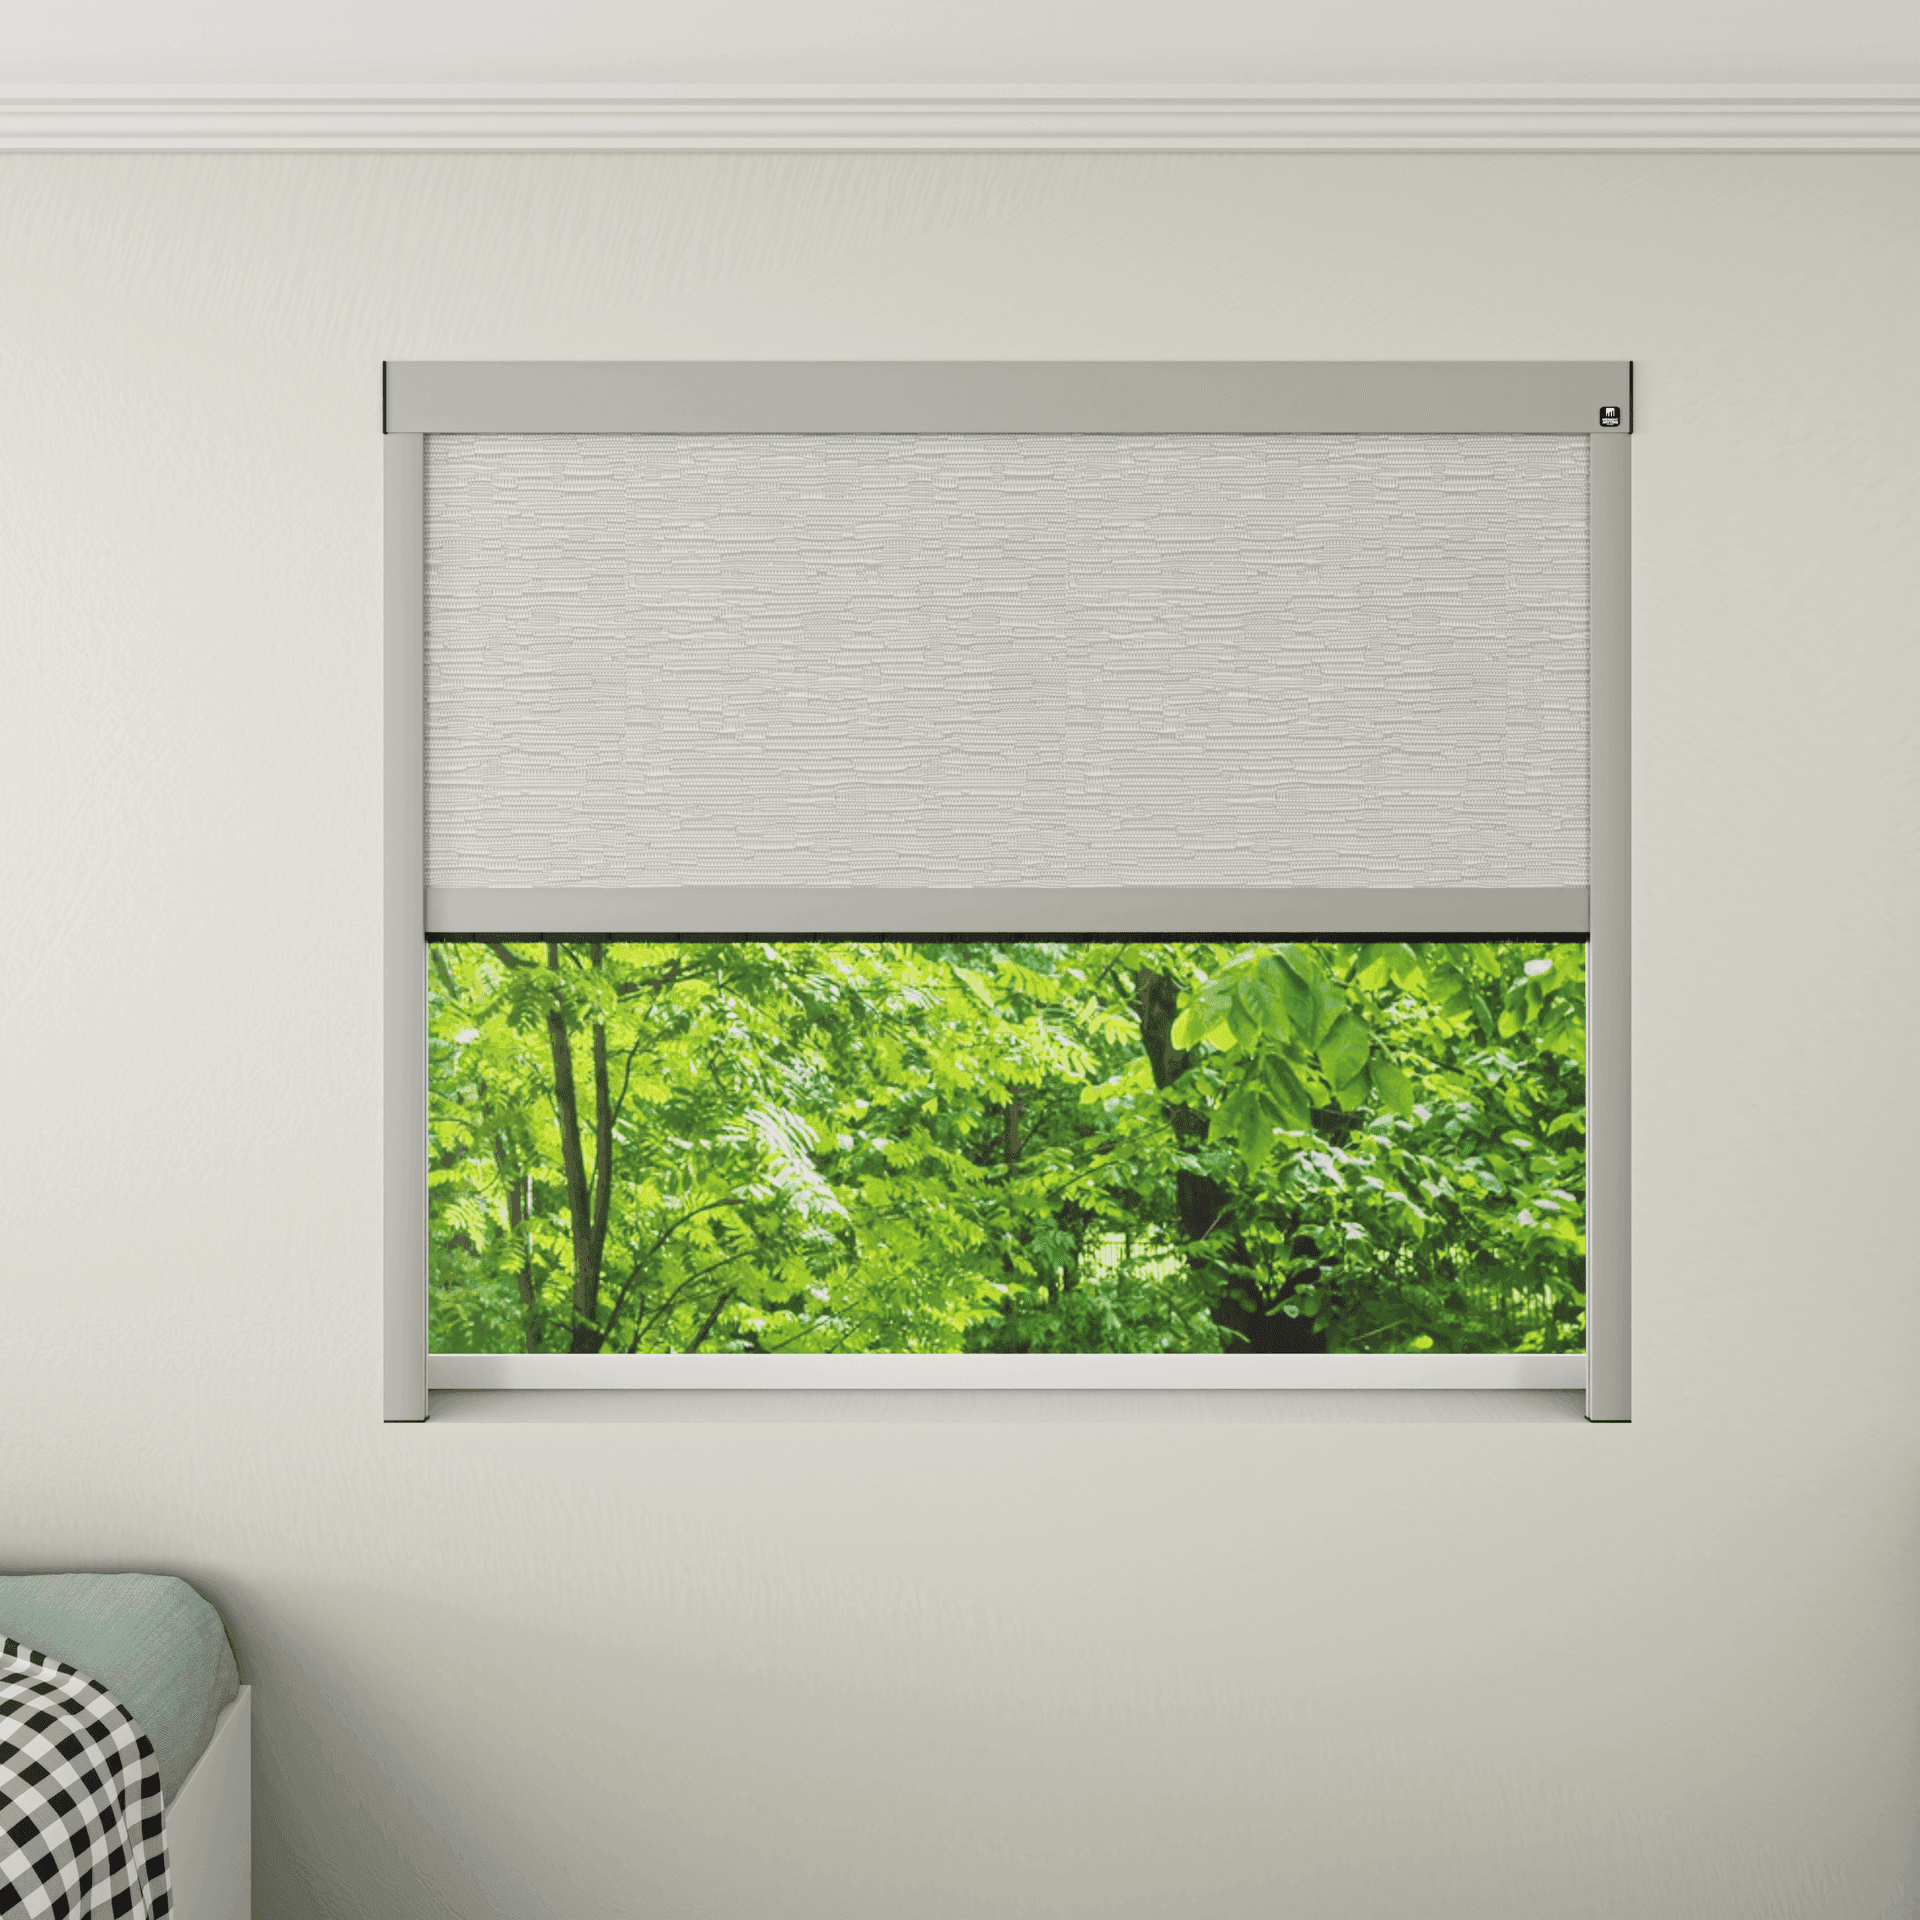
Enter your measurements into the online configurator, then choose fabric, motor and optional SmartHub. The live price updates as you build. Review carefully before submitting — once your blind is manufactured to your dimensions, returns for incorrect measurement are limited. If anything looks off, send a photo with your measurements before placing the order and we'll sanity-check.
Receive the kit and install
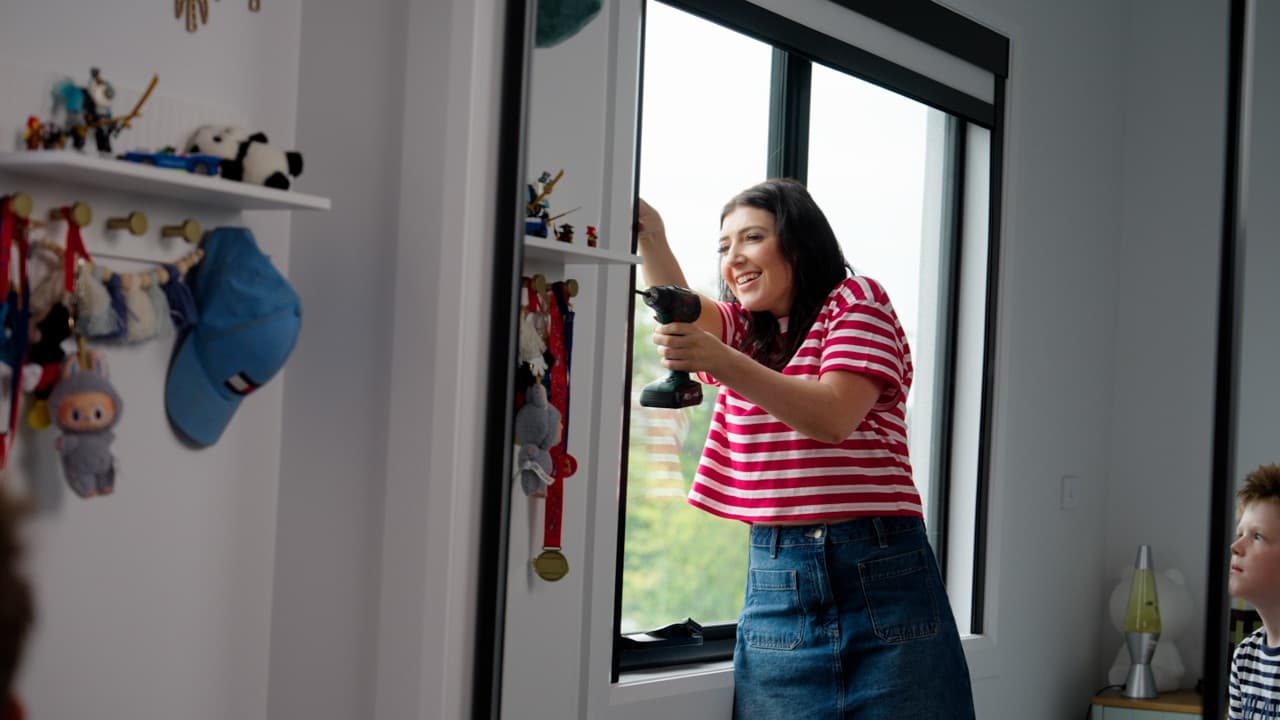
The kit ships to your door with brackets, side tracks, pelmet, blind, bottom rail, motor and remote. Two people, basic tools, around 30 minutes per window. Sequence: unbox and check parts, mark mount points, fix brackets level, fit the side tracks plumb, install the pelmet, drop the blind in, fit the bottom rail. The Installation Guide has the full ten-step sequence. If you're not sure, pair the motor with the remote on the bench before mounting — much easier to troubleshoot at the bench than up a ladder.
Set up motor and remote
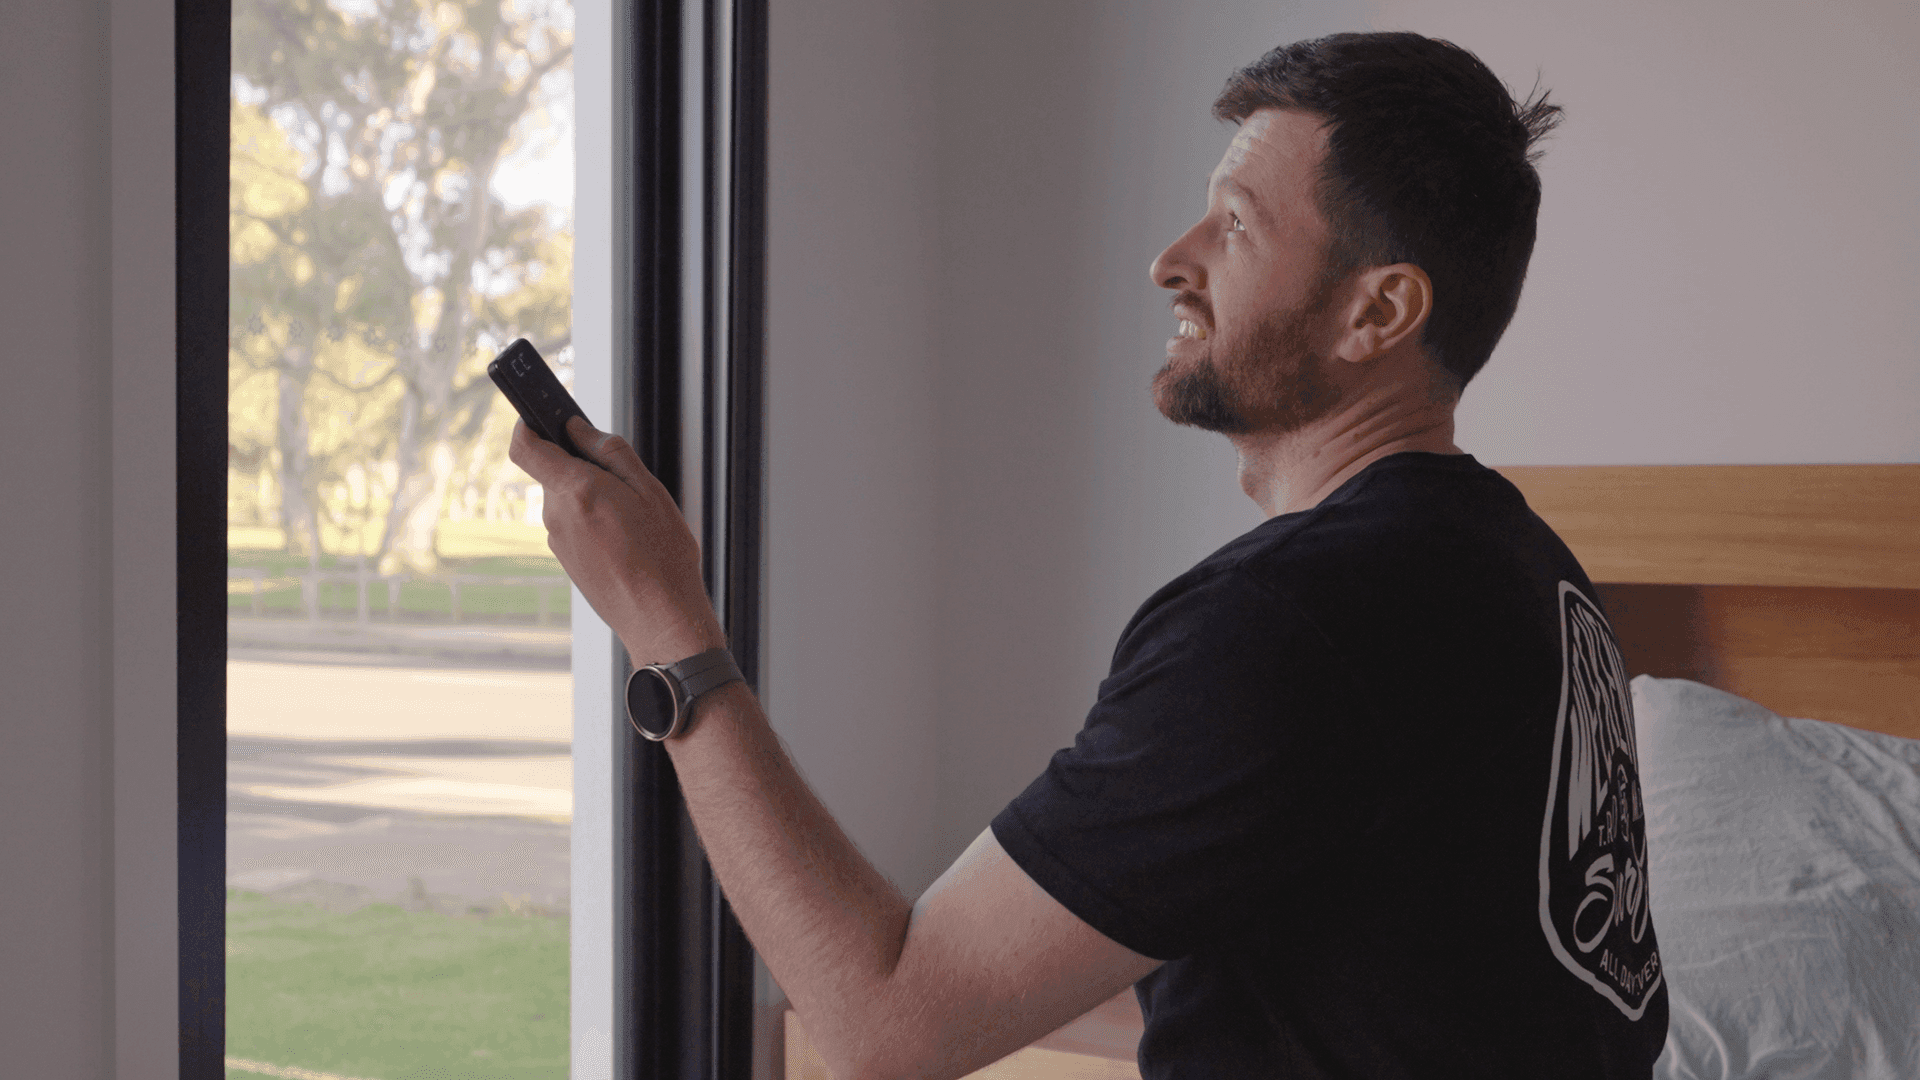
With the blind mounted, pair the motor with the supplied 16-channel remote, then set the upper and lower limits using the motor button sequence in the supplied product manual. Run the blind up and down five times to confirm. If you've added SmartHub, follow the Wi-Fi pairing steps in the SmartHub guide to connect to Google, Alexa or Amazon Home. The Remote & Motor Pairing guide has the full button sequence.
Make it easier on yourself
Four things that save time and headaches
Do suitability before measuring
Saves you measuring a window the system can't fit. Reveal depth, obstructions, mount surface — five minutes per window with a tape measure tells you whether to proceed.
Pair the motor with the remote before mounting
If parts allow, pair on the bench. Troubleshooting a pairing problem at a workbench takes a minute. The same problem with the blind already in the pelmet takes a lot longer.
Two people, every time
Side tracks need holding plumb while you fix them. The blind tube needs supporting while you drop it in. Solo is possible on small windows but slow and awkward on anything tall or wide.
Allow buffer time on the first install
Your first window typically takes the longest as you work out the sequence. By the second window you'll be quicker. Don't book a guest weekend around the install of a six-window job.
Not sure if it'll fit your window?
Reveal depth, obstructions and squareness all affect which system suits your window. Check before you order.
Your other install option
Prefer the team to handle it?
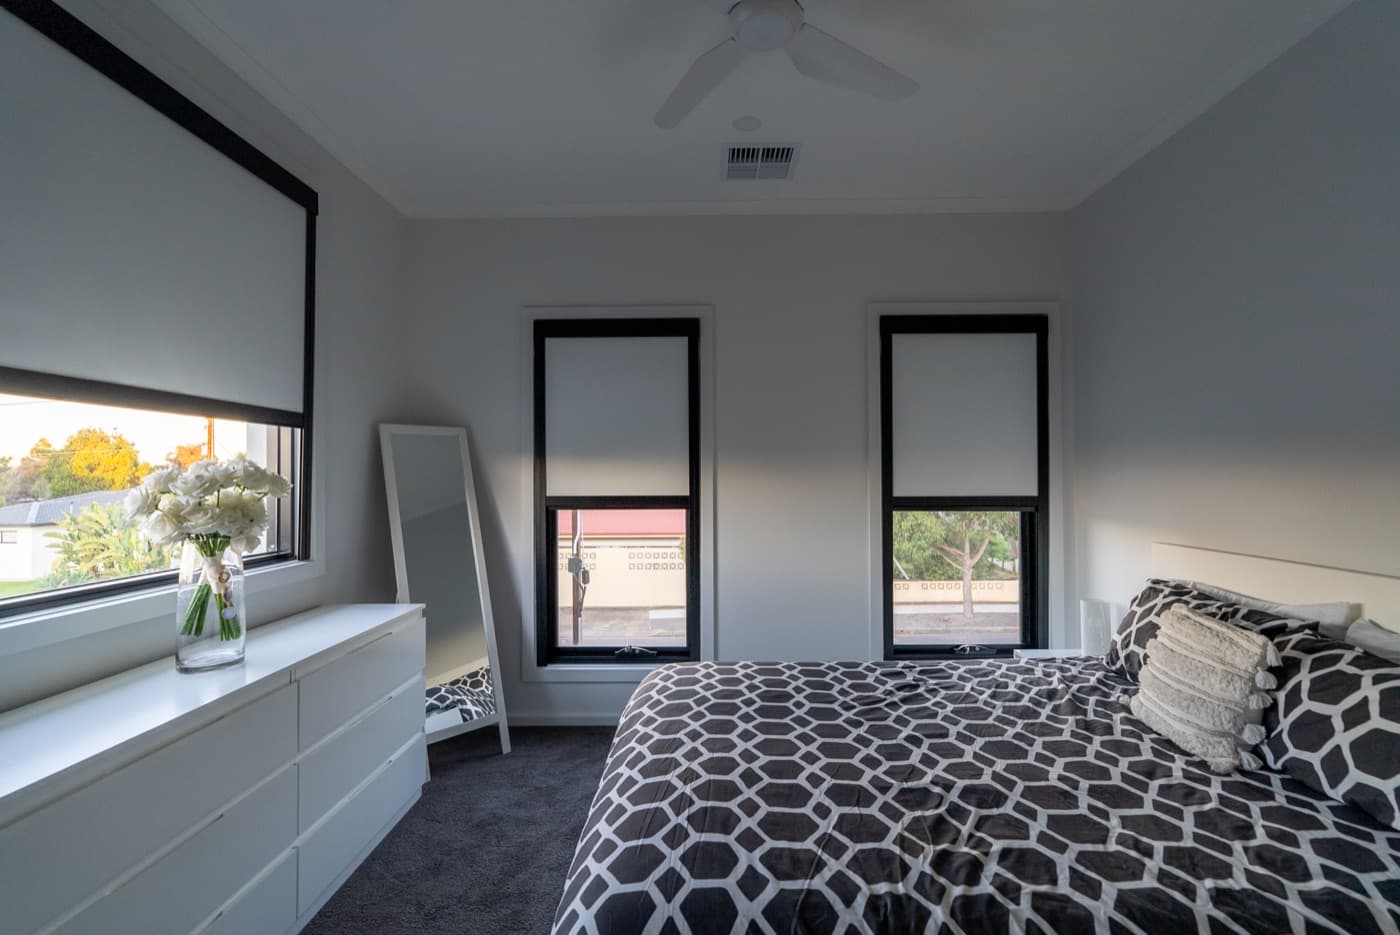
Same complete system, fitted by our installers. Free in-home measure across key metro service areas — no obligation.
Professional install
Find a professional installer
Free in-home measure, written quote with no obligation. The team manufactures, installs, pairs the motor and walks you through it.
See how install worksRelated questions
- Steel tape measure (not fabric), drill with bits for your wall material (timber, masonry, plasterboard-with-frame behind), spirit level, Phillips and flat-head screwdrivers, pencil, notepad, and a step or short ladder. Optional but useful: stud finder for plasterboard, second person, phone for photos if anything looks unusual. The kit includes all brackets, fixings, motor, remote and charging cable.
- Around 30 minutes per window — under an hour with two people. Your first window usually takes a bit longer than the second. Most customers spread their windows across a couple of weekends rather than doing everything in one go.
- Stop and don't force anything. Call DIY support on 08 8359 5935 — phone and video help is available during business hours. Send a photo of where you're stuck and we'll walk you through it. Common causes are brackets not level, side tracks not plumb, motor not yet paired, or parts in the wrong order.
- Phone and video support is available during head office hours on 08 8359 5935. The Help Centre is available 24/7 and covers most install and motor-pairing questions with step-by-step guides.
- If you're in a metro install service area (Adelaide, Melbourne, Sydney, Perth, Brisbane, Gold Coast) and you've hit a blocker, call DIY support on 08 8359 5935 — we'll talk through your options. If the kit hasn't shipped yet and you'd prefer professional install, contact us before it ships so we can route accordingly. If the kit is already at your place, the install team can sometimes finish the job, but it depends on what's been done and what's still in the box.
- Returns for incorrect measurement are limited — your blind is manufactured to the dimensions you submit. The measuring guide is the safeguard. If you're uncertain at any point, send a photo of your window with your measurements through the suitability form and we'll sanity-check before you order. Free, no obligation.
- Yes. The product warranty applies regardless of who installs it. The 100% money-back guarantee covers the product. What's on you with DIY is the install workmanship — if you damage something during the install, call us on 08 8359 5935 before trying to fix it.
Ready to start your DIY kit?
Begin with the window suitability check — five minutes per window tells you whether to keep going. If your windows pass, the measuring guide is next. Phone and video support is one call away if you need it.